Designing a Focal-Point Garden Bed With Art
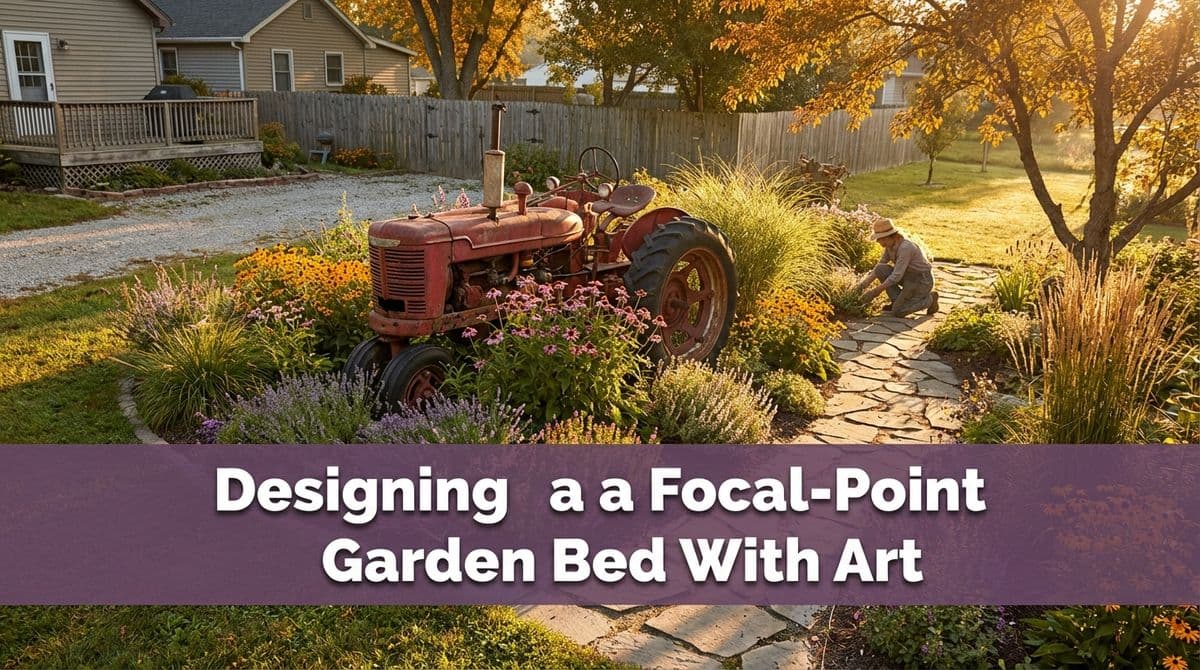
Turn an old farm implement or garden sculpture into a stunning focal-point bed with the right plants, layout, and lighting that fit a mature landscape.
Designing a Garden Bed Around a Vintage Feature
We recently got a call from a homeowner — let's call him Doug — who had a really fun challenge for us. He’s on a four-acre property that’s 100% landscaped, with rock walls, mature shrubs, and established beds. He’d just removed an old tree and had a prepped, mulched bed sitting empty.
Doug had restored a beautiful old hay rake and wanted to use it as a 3D focal point in that bed. He had a stump to lean it on, rocks to raise it up, and even a power source nearby for lighting — but he was stuck on what plants to use, how to lay them out, and how to light the feature so it looked intentional, not random.
That conversation is a perfect example of how we approach focal-point beds in mature landscapes, whether it’s a vintage farm implement, a sculpture, a large urn, or another 3D piece you love.
Step 1: Start With Scale, Not Plants
When Doug called, the first thing we asked for was photos of the hay rake and the bed from a few angles. Before we talk plants, we always want to understand scale:
- How tall and wide is the feature? Will it sit low like a ground-hugging rake, or stand tall like a sculpture?
- How big is the bed itself? Narrow ribbon, medium island, or large sweeping curve?
- What’s behind it? Fence, open view, house wall, or existing shrubs?
This matters because your focal point should read clearly from your main viewpoints: driveway, front door, patio, or main windows. In Doug’s case, the hay rake needed a little elevation on rock and the existing stump so it didn’t visually disappear into the background.
Home tip: Before you plant anything, stand where you’ll usually see the bed and take photos. If the feature doesn’t immediately catch your eye in the photo, it needs a better position or more height.
Step 2: Decide the Mood and Story
Doug’s hay rake came with its own built-in story — rustic, agricultural, and a bit nostalgic. We wanted the planting and lighting to support that feeling, not fight it.
Ask yourself what you want this bed to say:
- Rustic & relaxed: Old farm tools, weathered wood, natural stone, loose plant shapes.
- Clean & modern: Sculptures, bold urns, orderly grasses, strong lines.
- Cottage & colorful: Vintage items, lots of blooms, soft edges, layered textures.
Once you name the mood, plant and lighting decisions become much easier. For Doug, we leaned toward naturalistic forms and layered textures that felt like they could have grown up around that hay rake over time.
Step 3: Work With a Mature Landscape, Not Against It
Doug’s property had been planted about 25 years earlier. Like many homeowners, he told us some areas had turned into a “jungle,” and a few shrubs blocked views he wished he still had. That’s common in mature landscapes.
When you’re adding a focal bed to an established yard, keep these checks in mind:
- Sightlines: Make sure new plants don’t block views of mountains, water, or key features.
- Existing colors: Echo one or two colors already in your yard so the new bed doesn’t feel random.
- Maintenance reality: If the rest of your yard is low care, don’t add a high-maintenance flower border you’ll resent later.
Doug already had mulch down and the soil prepped, which was great. We focused on refining plant choices so the bed tied into his rock walls and existing plant palette instead of fighting them.
Step 4: Choose Plants by Height, Texture, and Season
Doug’s main question was plant layout. He knew what he liked, but not how to combine things so the hay rake stayed the star. We walked him through a simple framework you can use too.
Create a clear backdrop
First, give your feature a clean “canvas” behind it so it stands out:
- Evergreen shrubs or tall grasses a bit behind and to the sides of the feature.
- Consistent foliage color (all dark green, or all blue-green) so the implement’s color and shape pop.
In taller beds, we often use columnar shrubs or clump-forming grasses; in shorter beds, a low hedge or mounded evergreens can do the job.
Layer the foreground
Once the backdrop is set, build toward the front of the bed:
- Medium layer: Perennials or compact shrubs that soften the transition without hiding the feature.
- Front edge: Low groundcovers or small perennials to define the outline and keep mulch in place.
We usually avoid tall plants directly in front of the focal point; you want to “frame,” not “fence it in.”
Think textures and seasons, not just flowers
For a mature landscape at 1,200–1,500 feet like Doug’s, we’re always thinking four seasons:
- Winter: Evergreens, interesting branches, and the silhouette of the feature itself.
- Spring: Bulbs or early perennials near the front for a seasonal “reveal.”
- Summer: Reliable bloomers or bold foliage that don’t overwhelm the feature.
- Fall: Grasses and shrubs with good fall color to catch the low light.
Even if you only pick 5–7 plant varieties, choosing them for staggered interest makes the bed feel intentional all year.
Step 5: Layout Like a Pro (Even If You DIY)
Doug told us right away he was happy to do all the labor himself; he just wanted a diagram of “what goes where.” That’s a great way to approach a single-bed redesign.
Here’s the basic layout process we use that you can copy:
- Model the bed on paper
Sketch the outline roughly to scale and draw in the focal feature (hay rake, sculpture, etc.). Note nearby paths, walls, and any views you want to preserve. - Mark your viewing angles
Draw arrows from key viewpoints — driveway, house windows, patio. Make sure the feature reads well from at least one or two of these angles. - Place the feature slightly off-center
We rarely center the focal point in the bed. Offsetting it creates a more natural, relaxed composition. - Block in plant “masses”
Instead of thinking in individual plants, draw ovals or blobs showing general groupings: backdrop shrubs, mid-layer, and front edge. Repeating a few masses creates rhythm. - Check heights against the feature
Nothing should compete with the feature’s height in the immediate foreground. If a plant mass seems too tall, move it back or choose a shorter variety.
At this stage, we often send clients a simple perspective or 3D mockup so they can see how tall things will feel. Even a rough sketch helps prevent mistakes that only become obvious years later.
Step 6: Add Lighting to Finish the Look
Doug already had a power source near the bed and planned to add lighting as he went. That’s ideal — lighting should be designed with the planting, not tacked on at the end.
For a vintage feature like a hay rake, we usually recommend:
- One or two low-voltage spotlights aimed to graze across the metal or wood, emphasizing texture.
- Soft path or wash lights on nearby rock or groundcover to “anchor” the scene at night.
- Warm color temperature (around 2700–3000K) to keep the look cozy and inviting, not harsh.
A couple of small fixtures, carefully aimed, are usually better than flooding the whole area with light. The goal is to make your focal point glow and the plants gently frame it, just like they do during the day.
Ready to Build Your Own Focal-Point Bed?
If you’ve got a special piece — an old farm implement, a sculpture, a large pot, or something else meaningful — and an empty or overgrown bed in a mature landscape, you’re in the same spot Doug was in when he called us.
Start by respecting your existing yard, choosing a clear mood, and planning the layout on paper before you ever dig a hole. With the right scale, thoughtful plant layers, and a bit of lighting, that one bed can become the feature that pulls your whole landscape together.